Your New Terminal Co-Pilot for Smarter, Faster Flutter Apps
App development is a constant balance between creativity and repetition — and Gemini CLI is here to tip the scales in your favor. Forget simple autocomplete: we’re talking about an AI partner that understands Flutter projects, refactors code, debugs errors, and even commits cleanly formatted, tested code for you.
In this guide, we’ll explore Gemini CLI’s Flutter extension in action — from project creation to debugging and release automation — with real, practical examples you can reproduce on your own machine.

🧩 Part 1: Setup & First Contact with Gemini CLI
Before Gemini can start building your app, let’s install it and connect the Flutter extension.
Installation
You’ll need:
- Node.js 20+
- Flutter SDK
- Git
Then install Gemini CLI:
npm install -g @google/gemini-cliOr for quick use:
npx https://github.com/google-gemini/gemini-cliOnce installed, launch:
geminiYou’ll be prompted to log in with your Google Account or use an API key. You can take a look at this article for instructions on setting up Gemini.
Then, install the Flutter extension:
gemini extensions install https://github.com/gemini-cli-extensions/flutter.git --auto-updateYou now have access to Flutter-specific commands like /create-app, /modify, and /commit.
🪄 Part 2: Creating a Flutter App with /create-app
Instead of running flutter create, let Gemini handle it for you:
gemini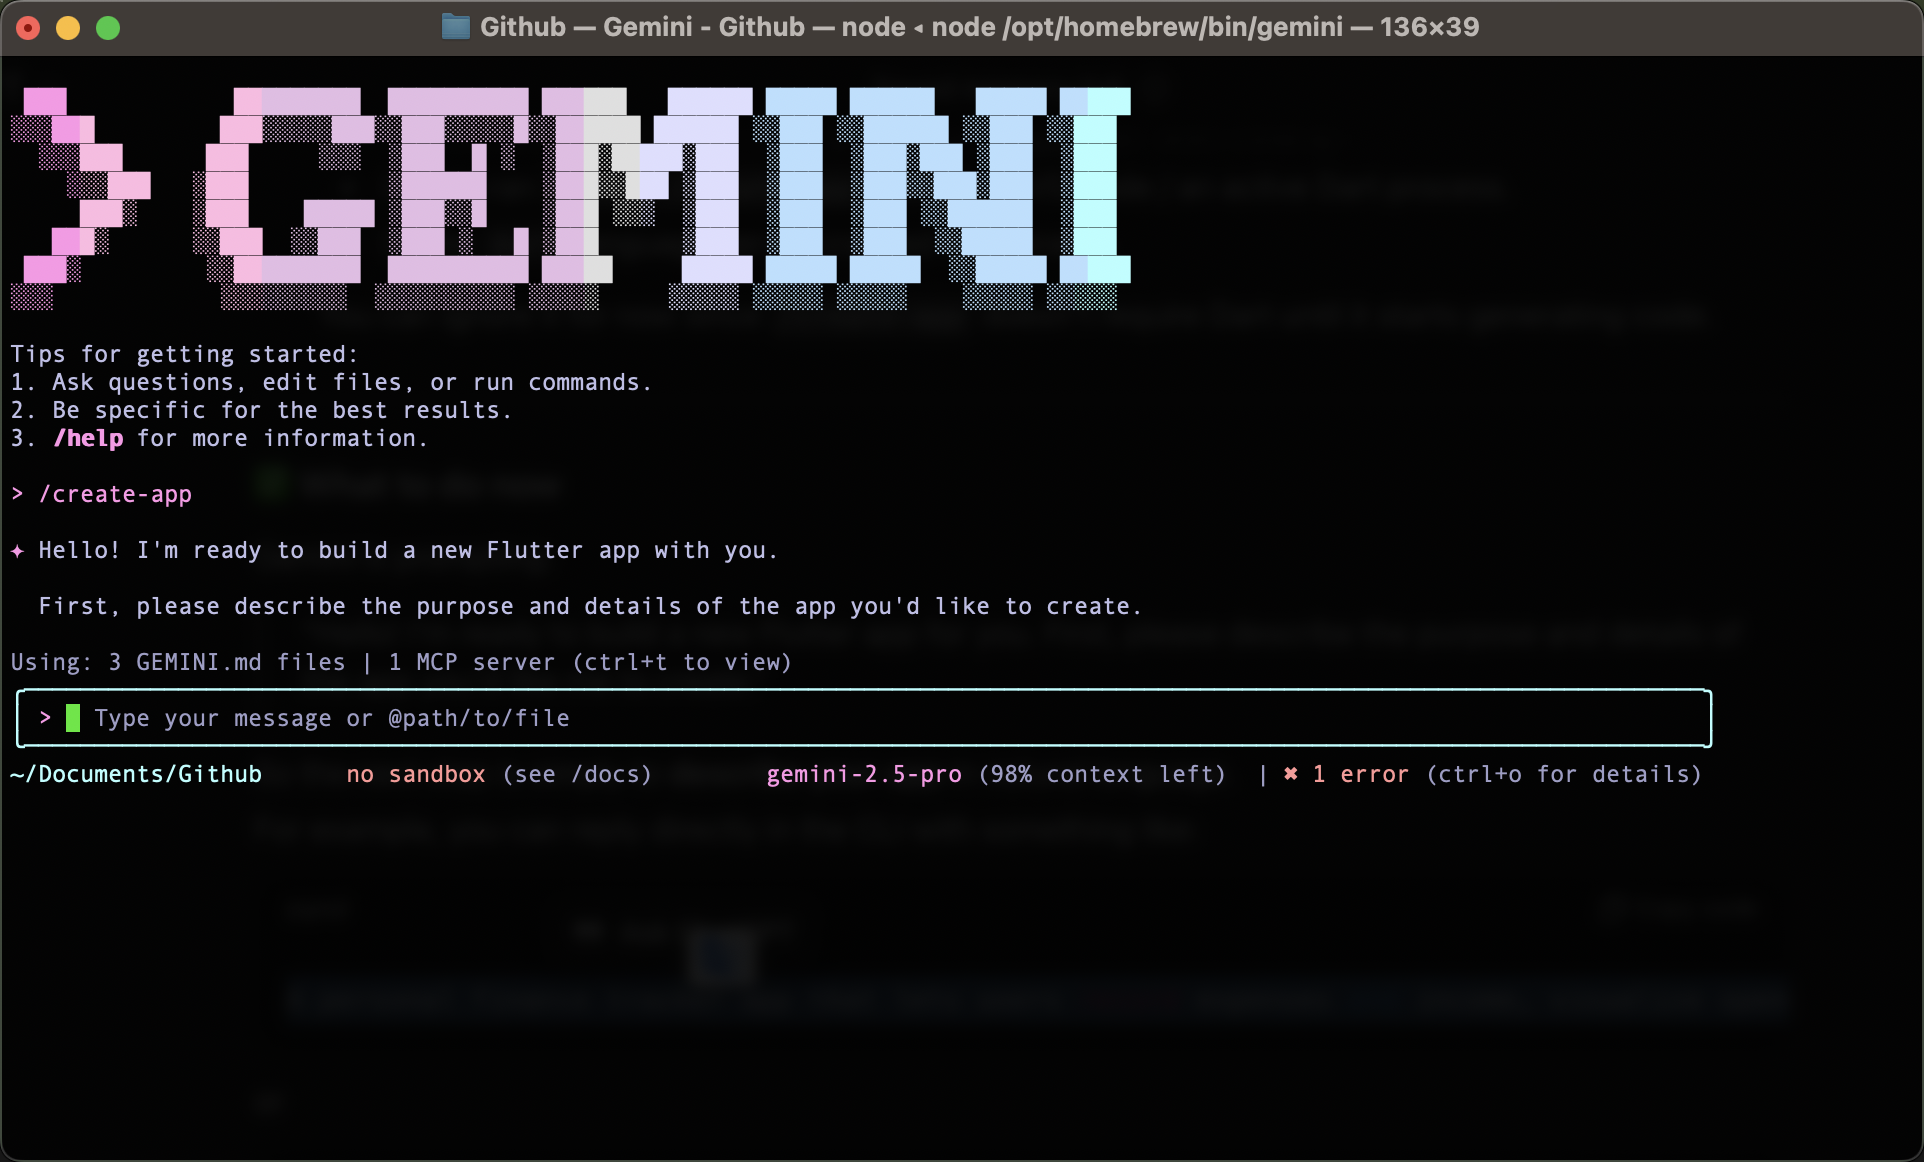
Now, you’ll tap /create-app. You will be asked to describe the purpose and details of the app. Tap this prompt:
A smart task manager that categorizes tasks automatically and suggests priorities based on urgency.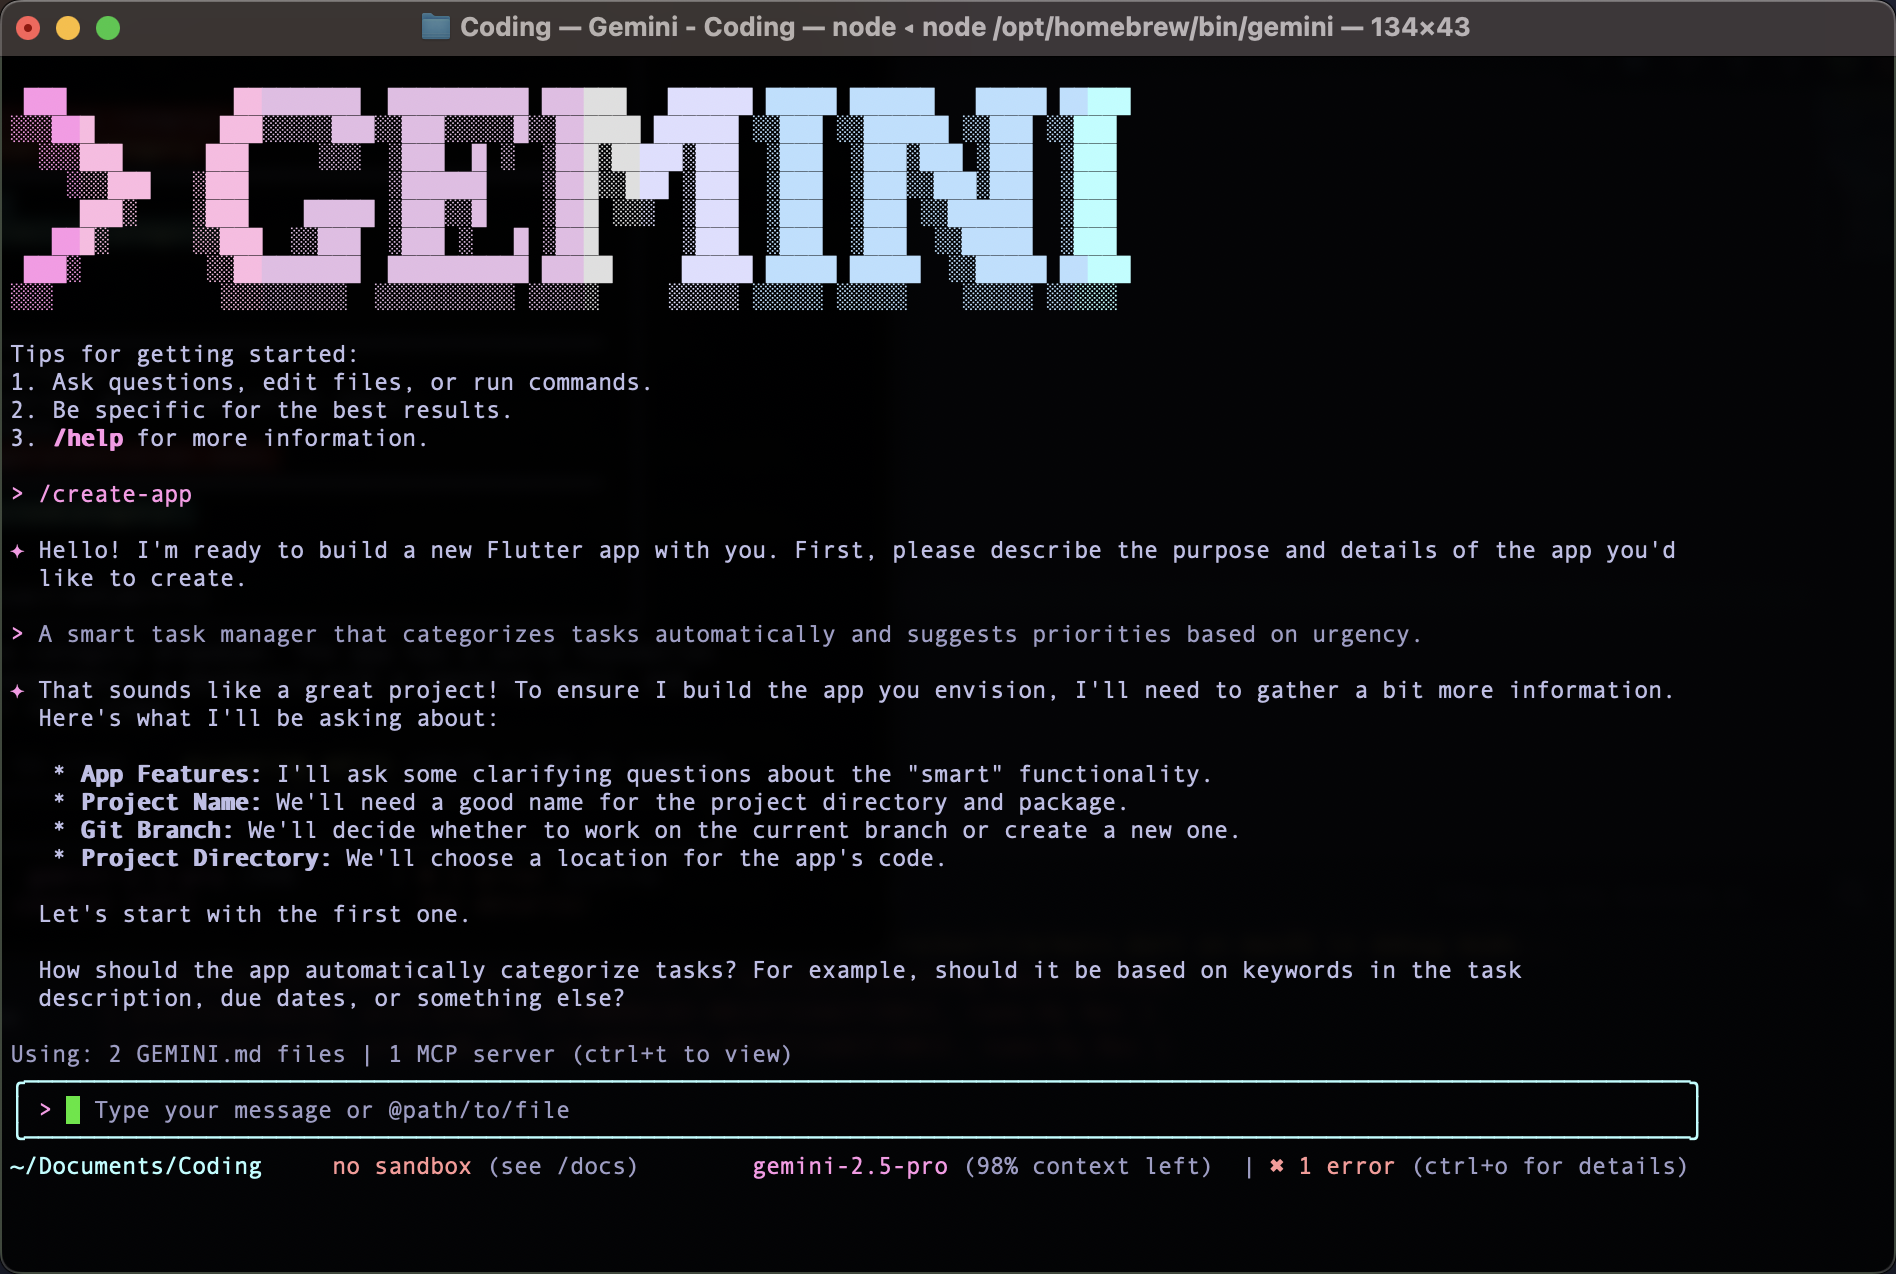
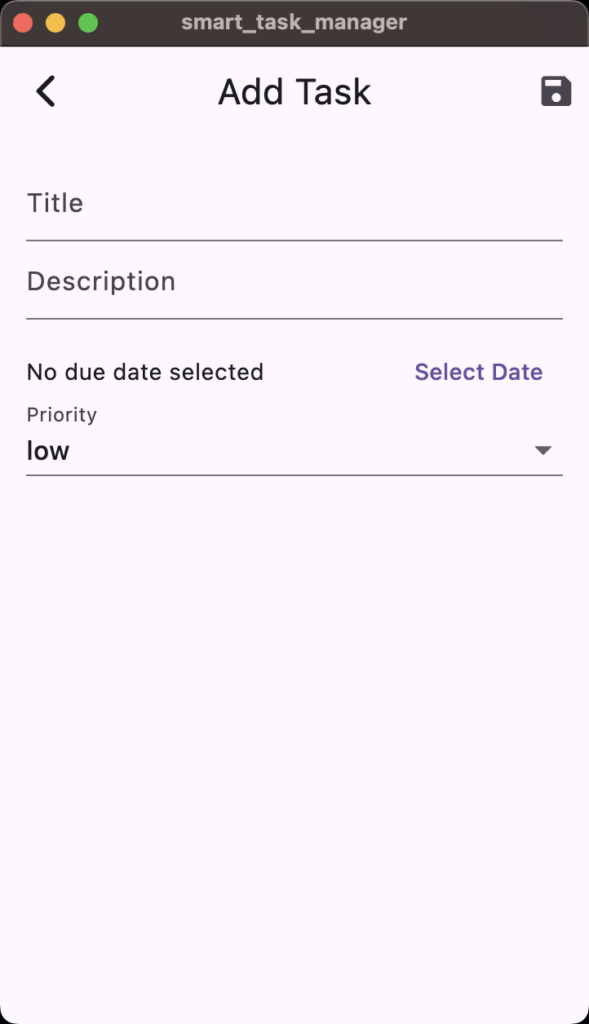
You now have 4 options to fill in:
Here is the first response:
The app should categorize tasks automatically based on keywords and context in the task description.
For example, if a task contains words like “meeting” or “call”, it goes under the Work category; if it includes “buy”, “groceries”, or “shopping”, it’s categorized as Personal.

Additionally, if a task has a due date, the app should use it to determine urgency — tasks due within 24 hours are marked as High Priority, within 3 days as Medium, and beyond that as Low Priority.

Eventually, I’d like to integrate a simple AI model to improve categorization over time.
Here is the second response:
smart_task_manager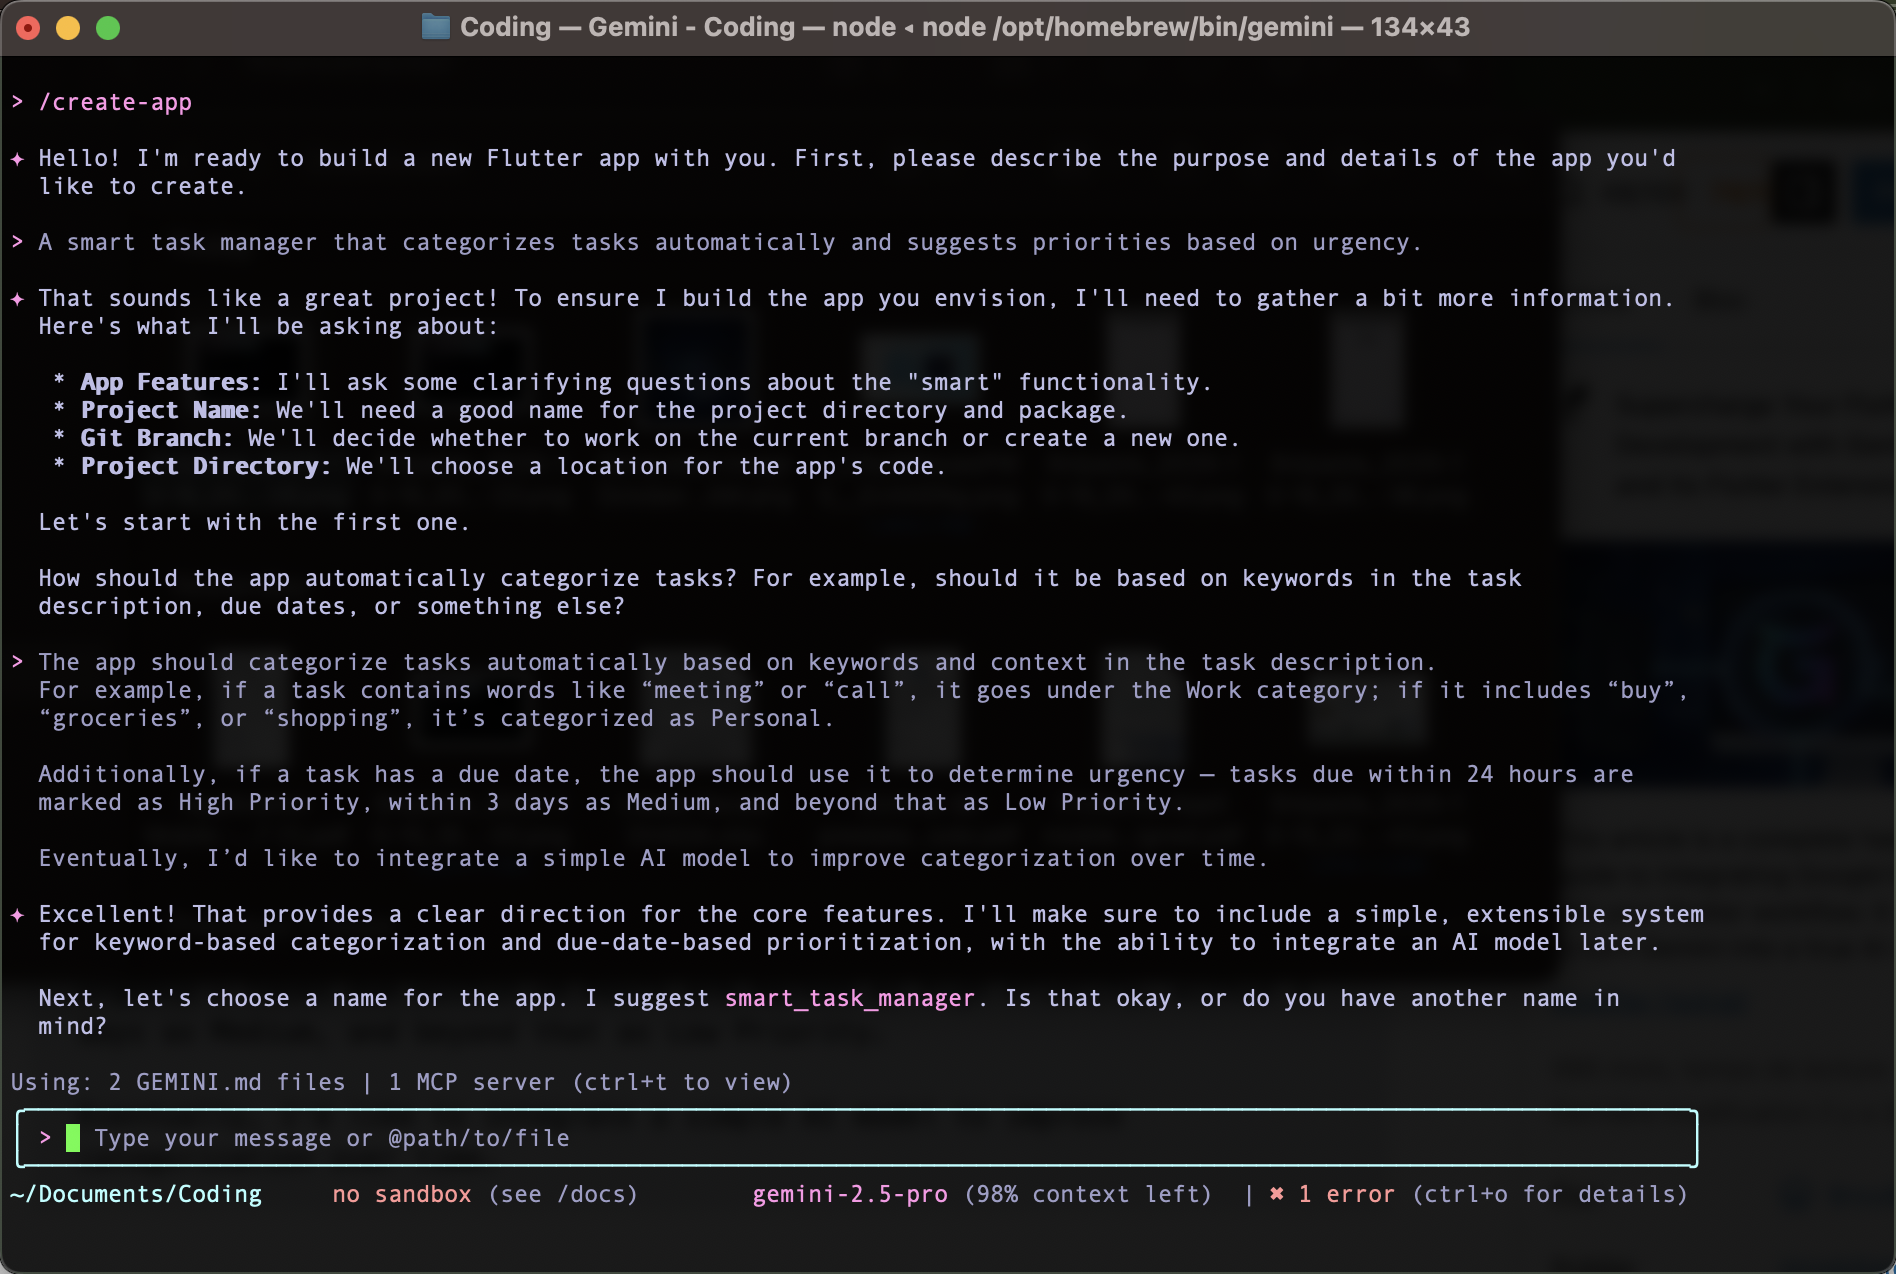
Only the last two remain. We will keep the main branch and use its proposal from the folder directory.
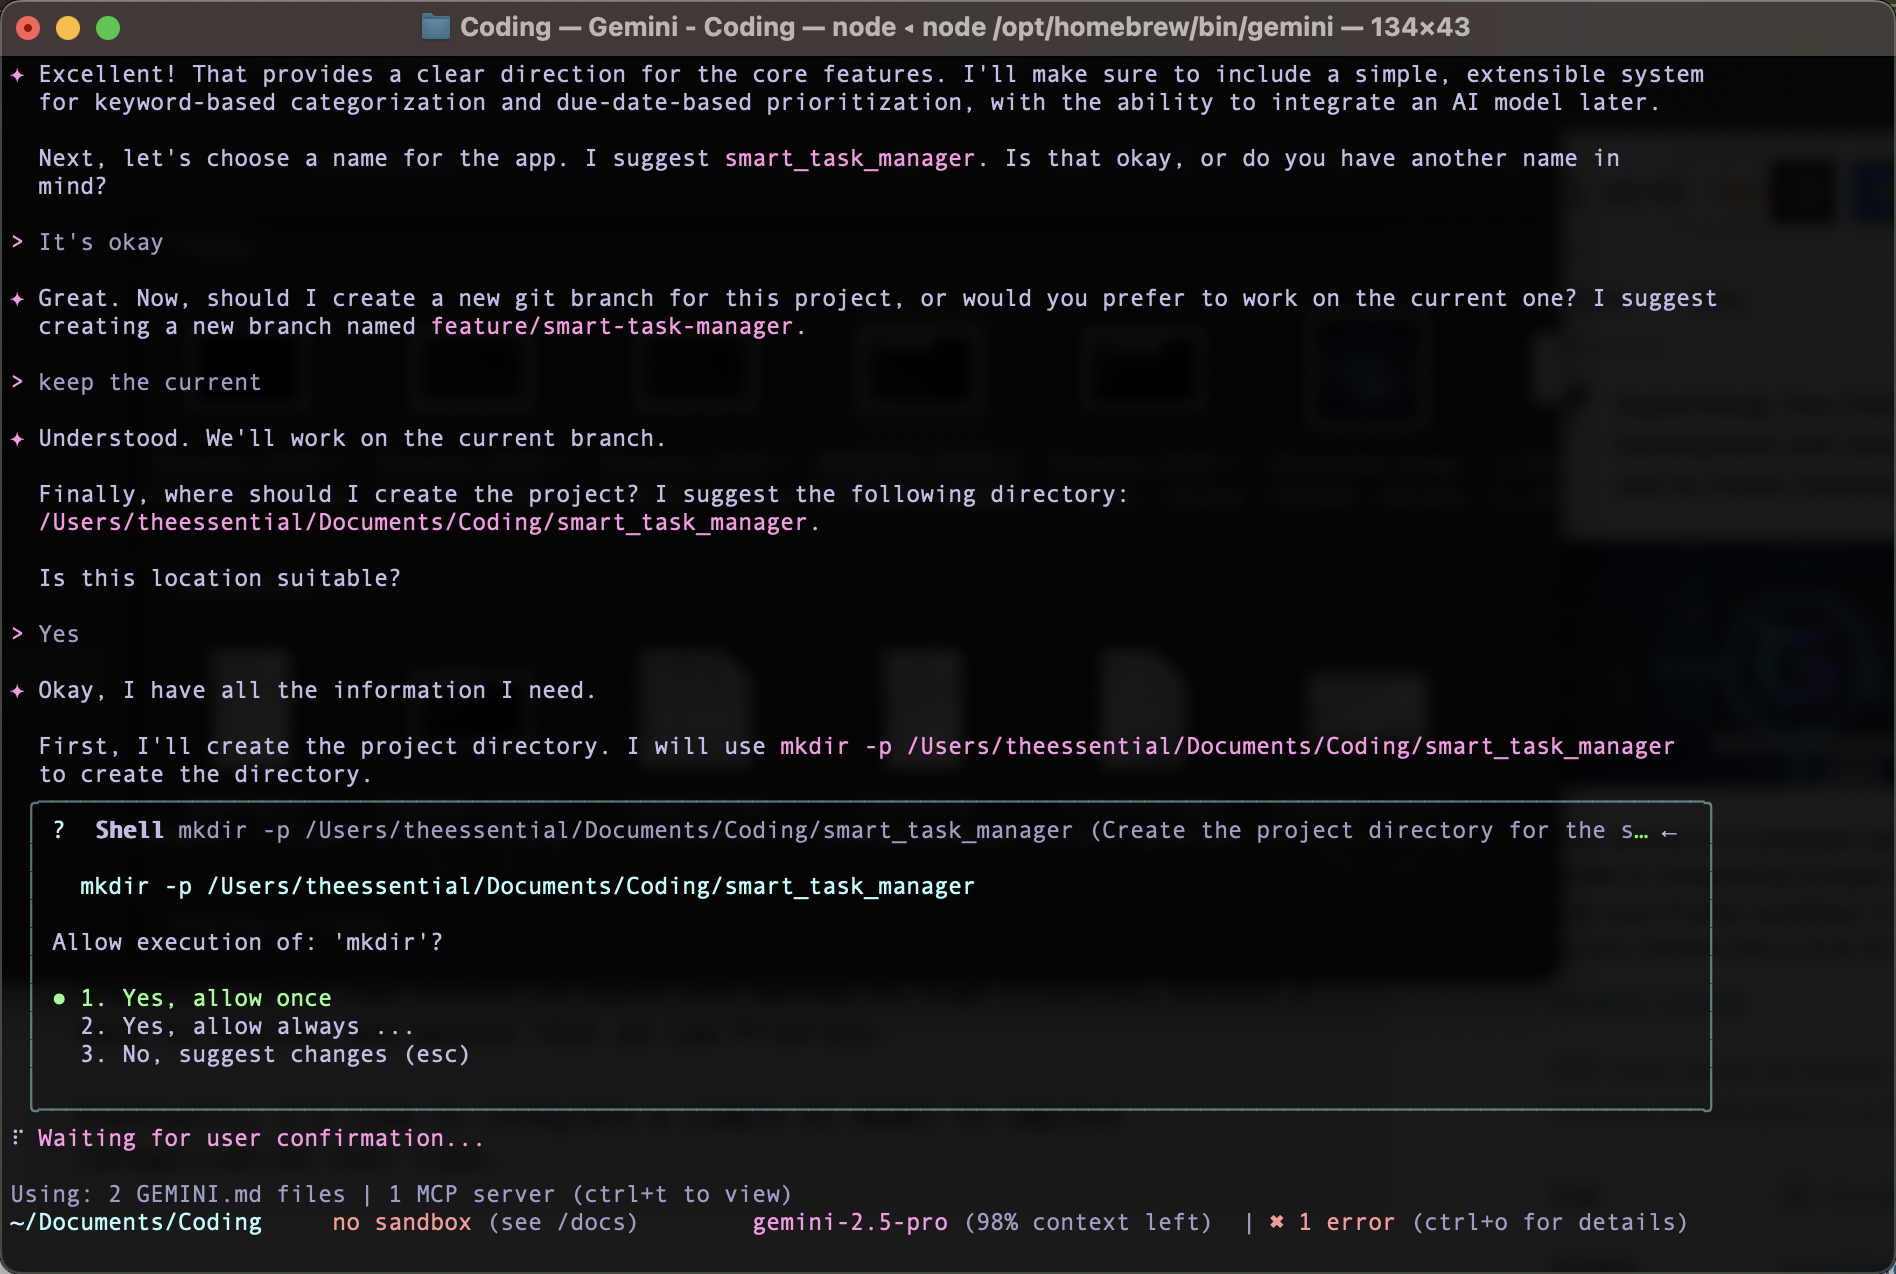
He will create the folder, then search Google to create the DESIGN.md file, which contains a clear plan for the application architecture, state management, and categorization service design.
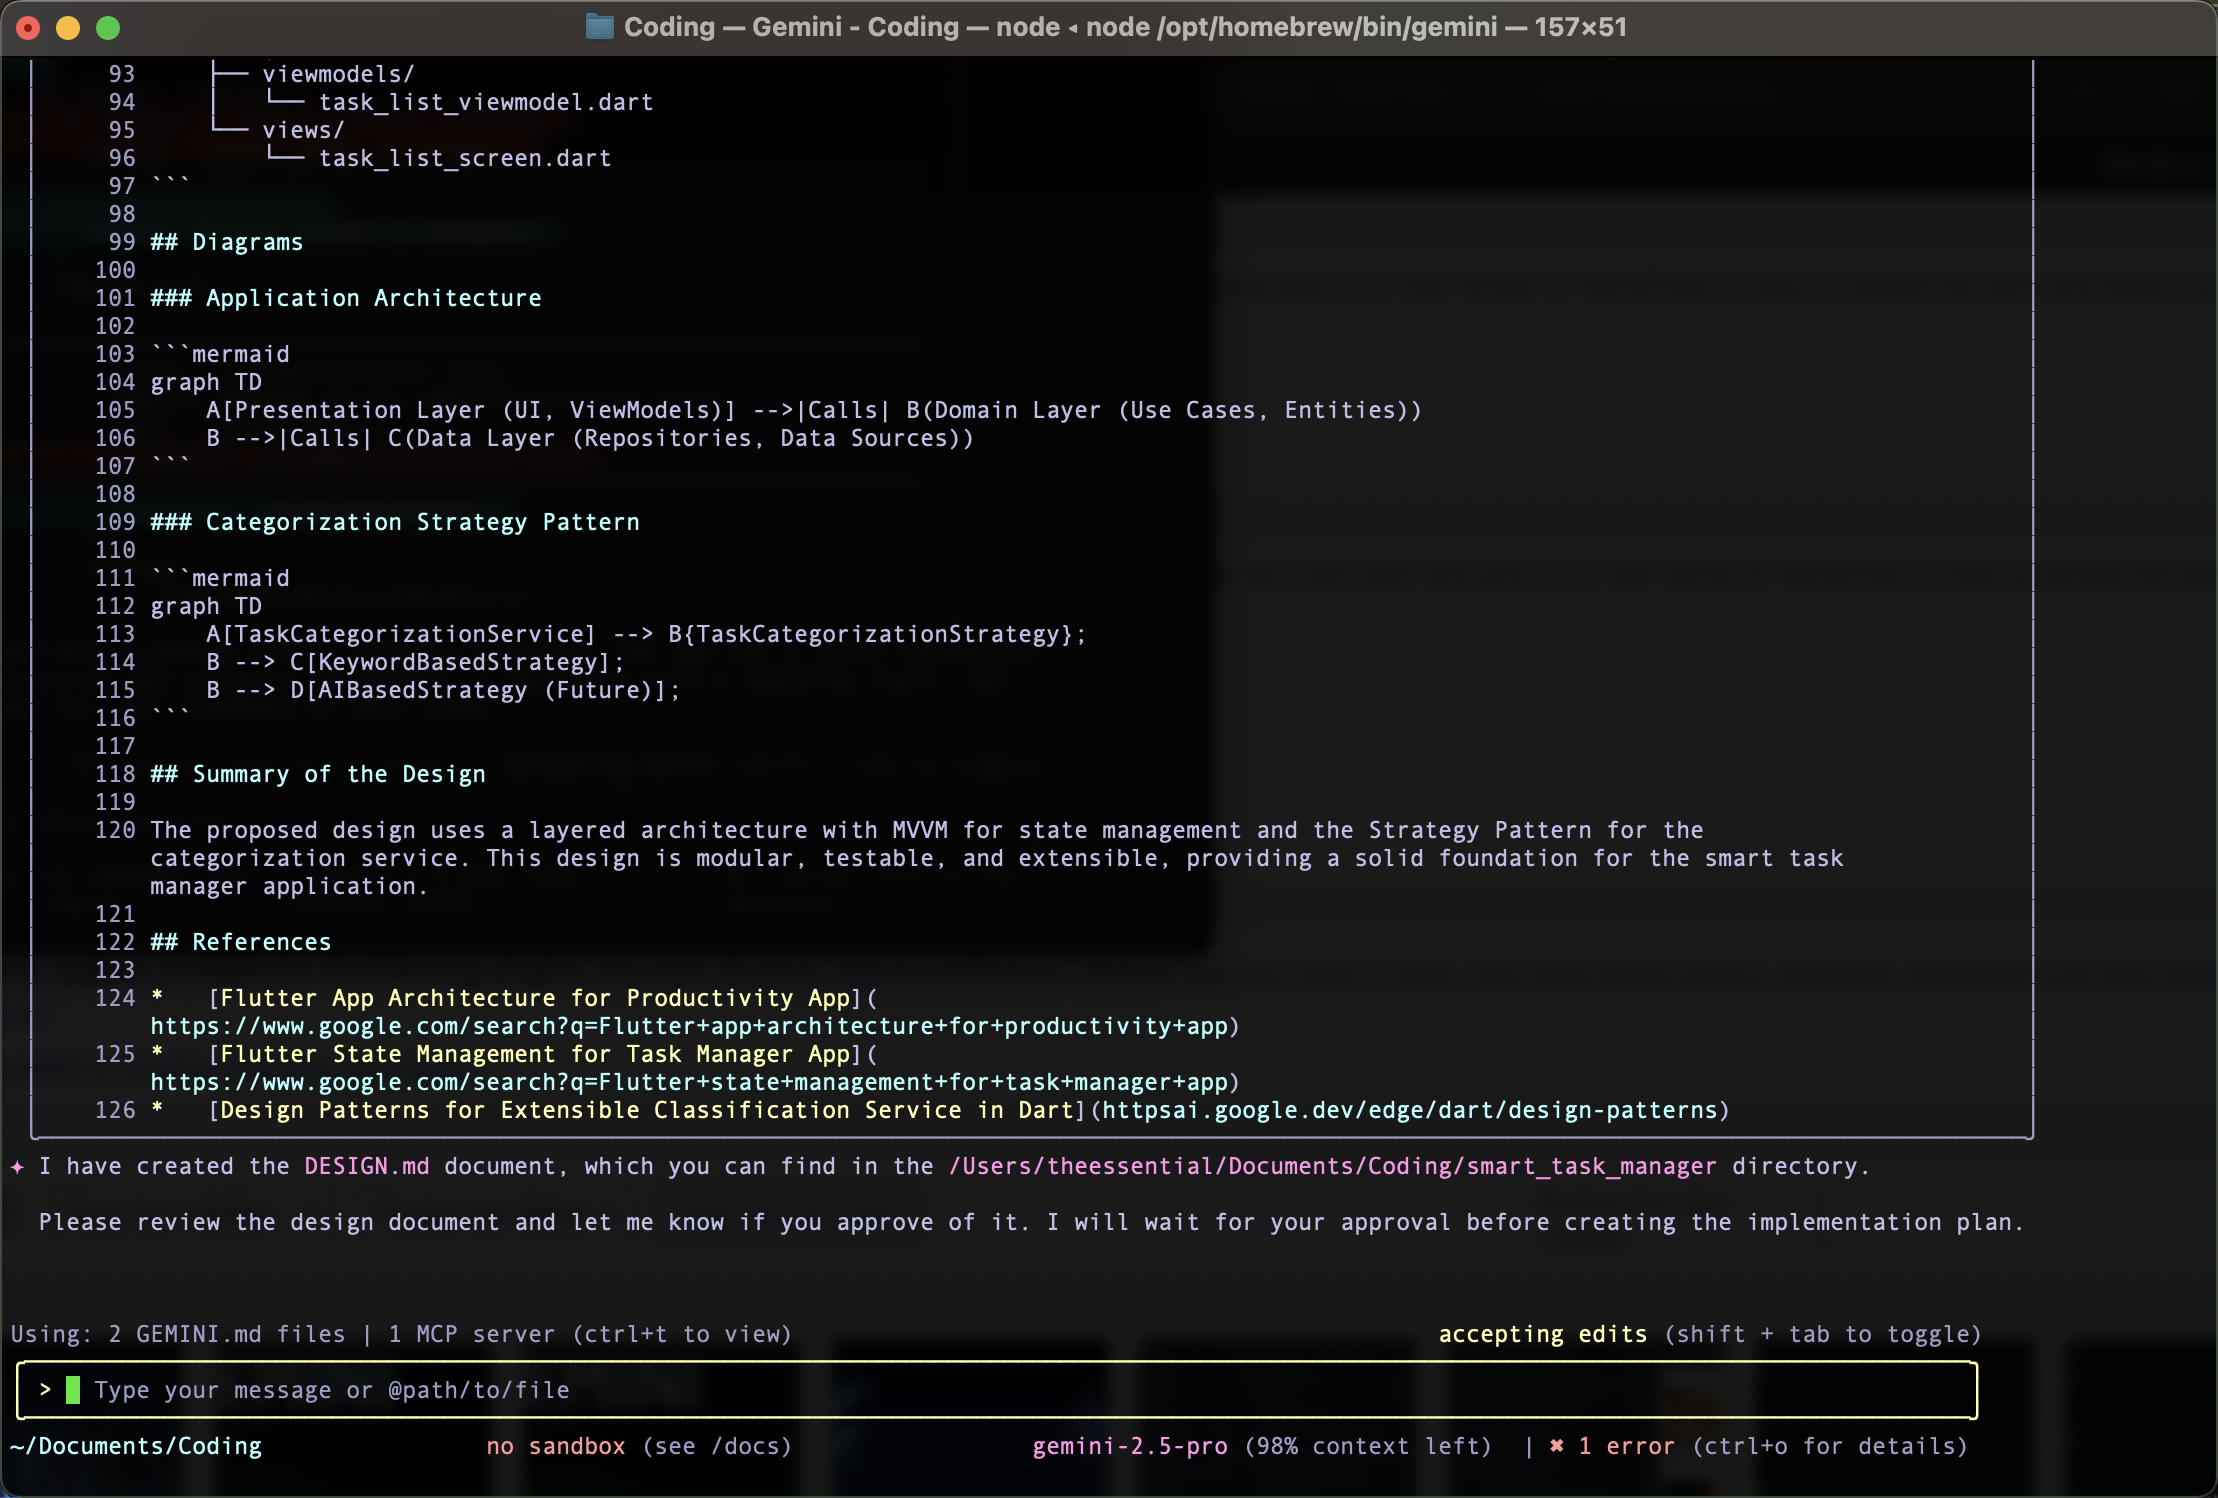
You can access the DESIGN.md file and modify the plan if you want. Let’s keep his proposal and move forward.
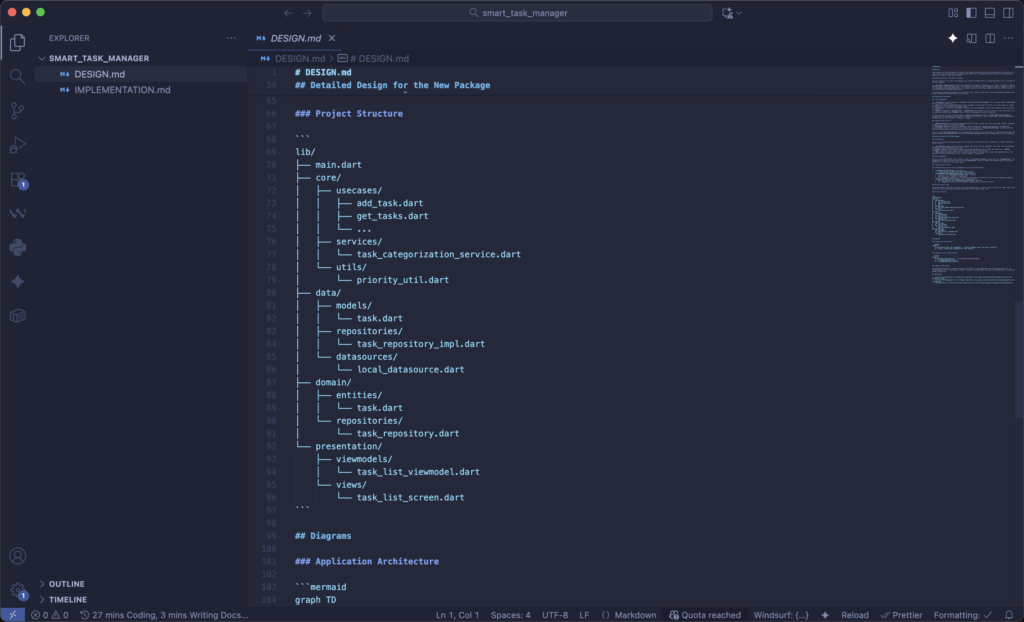
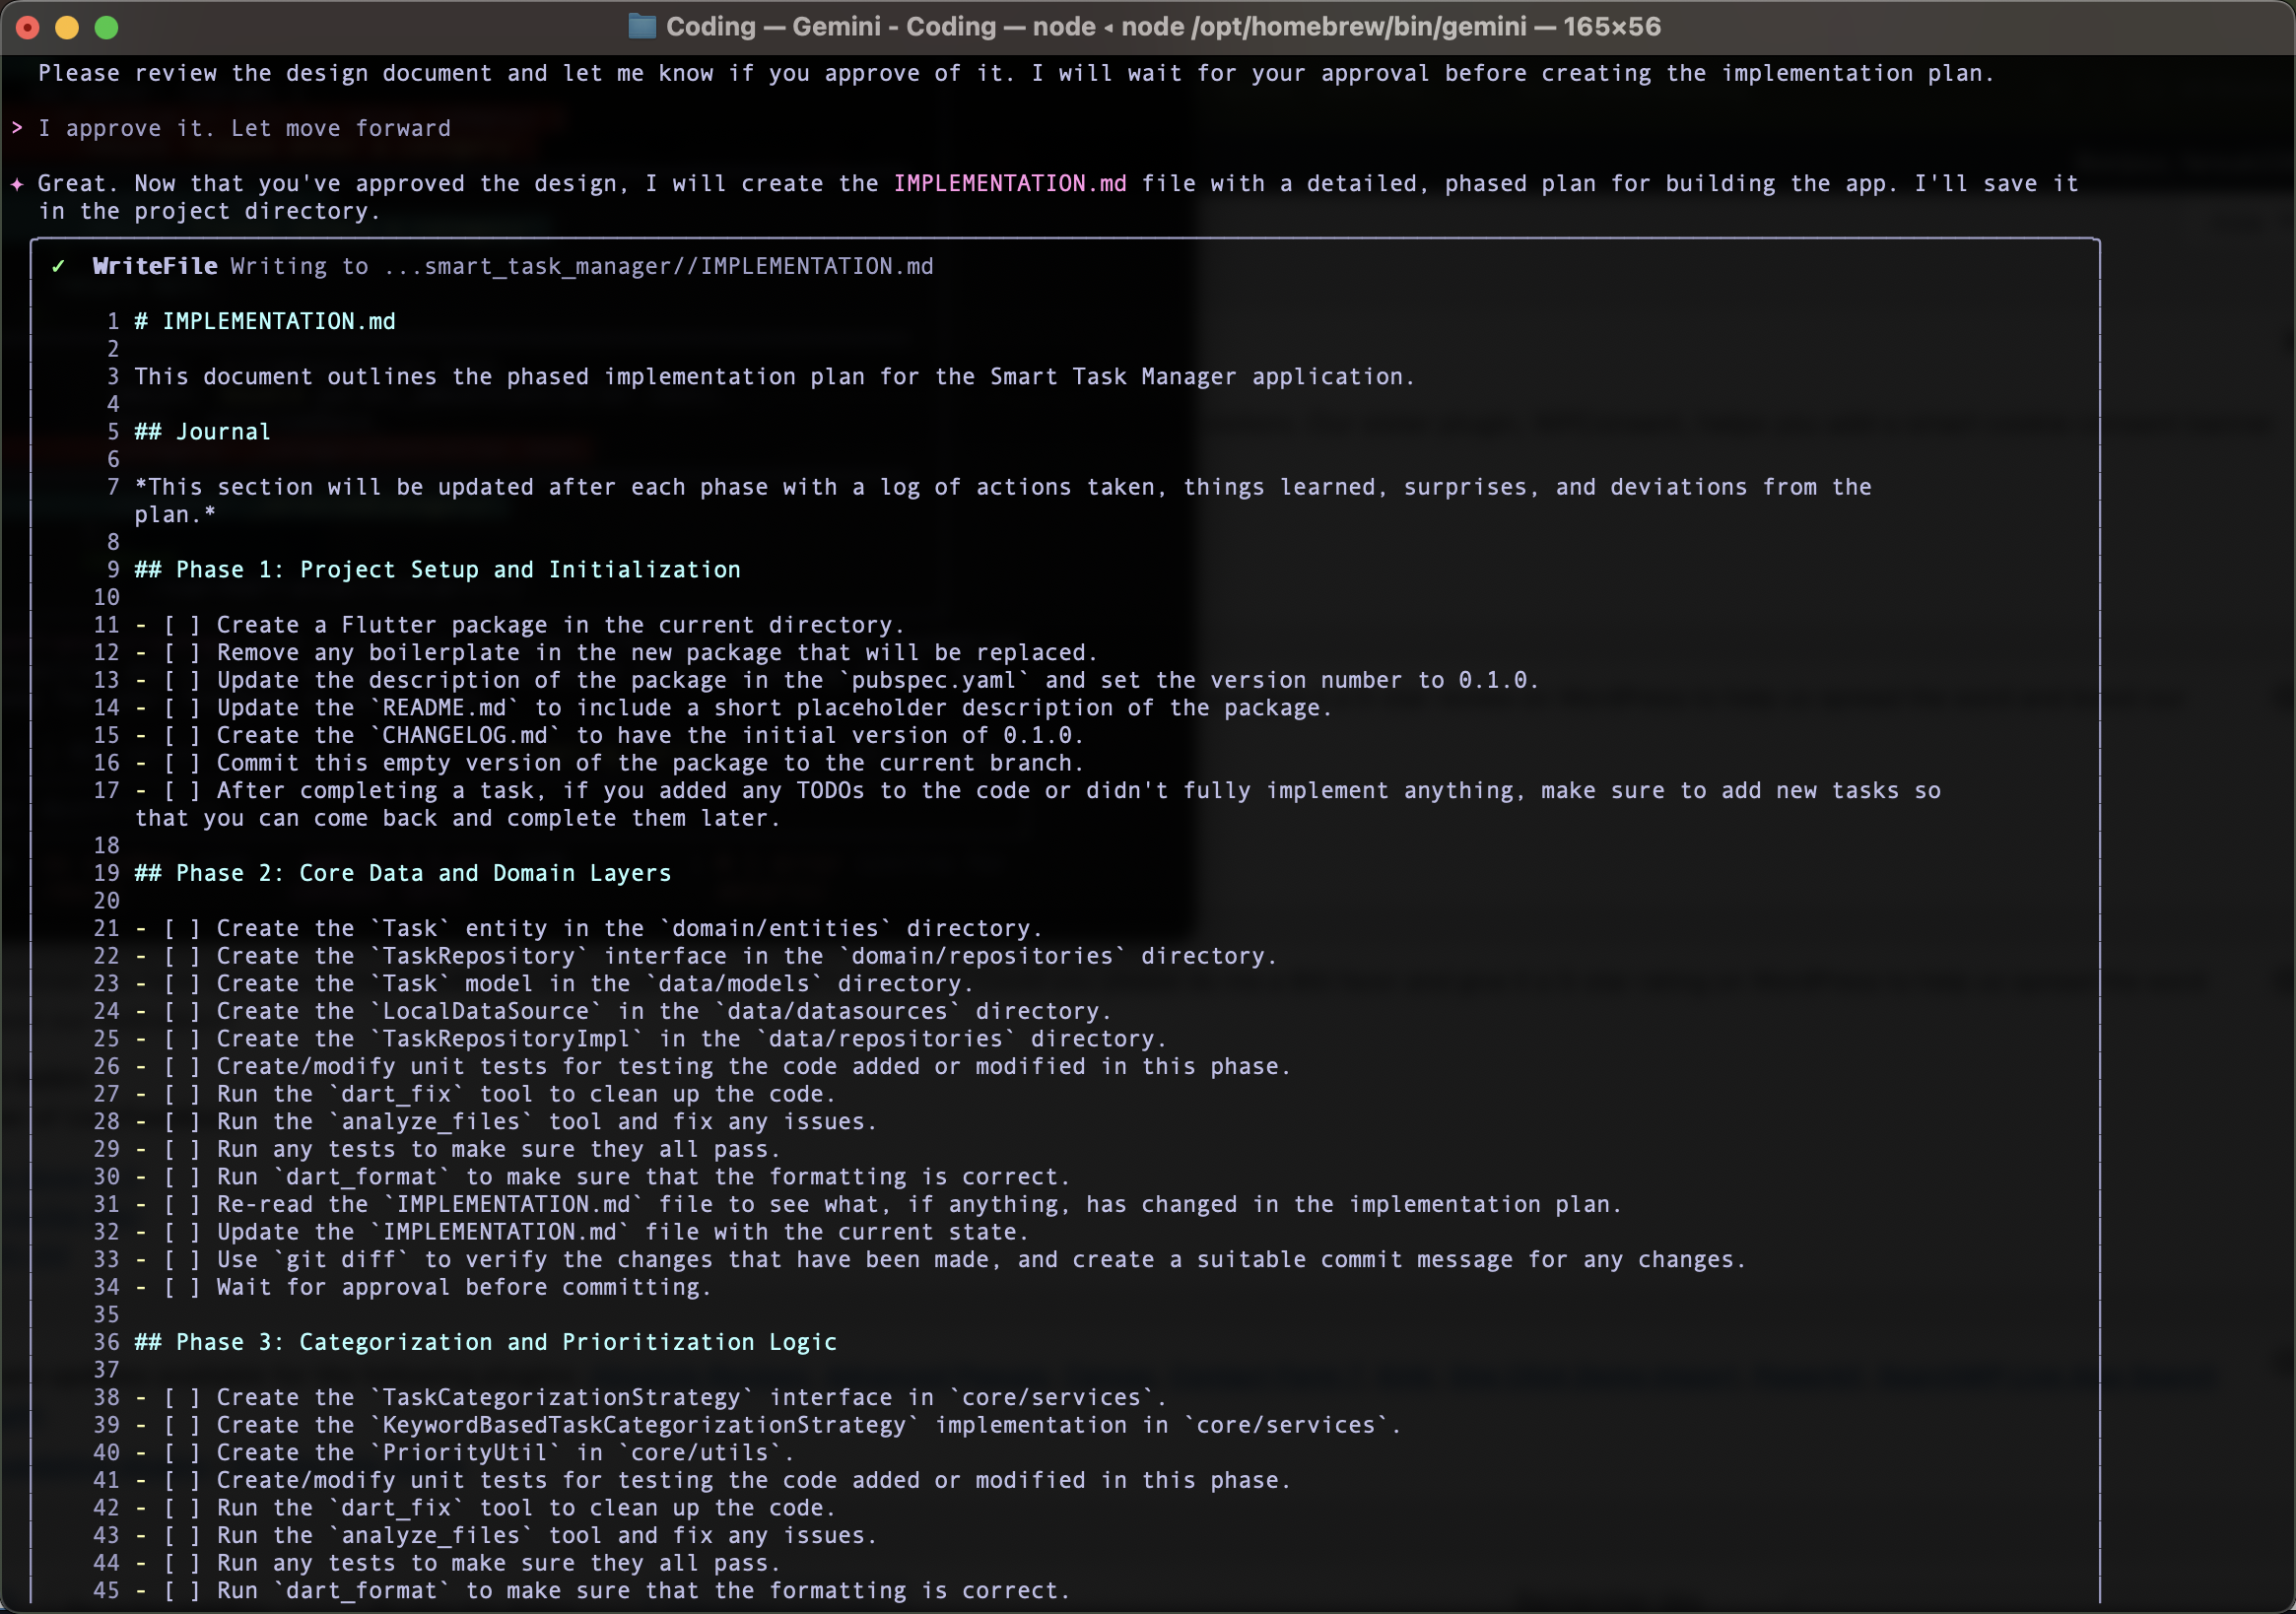
When you accept, it creates a file named IMPLEMENTATION.md containing a detailed, phased plan for creating the application.

📁 Part 3: Guiding Gemini with a Project Charter
So these two files guide the model in creating the application.
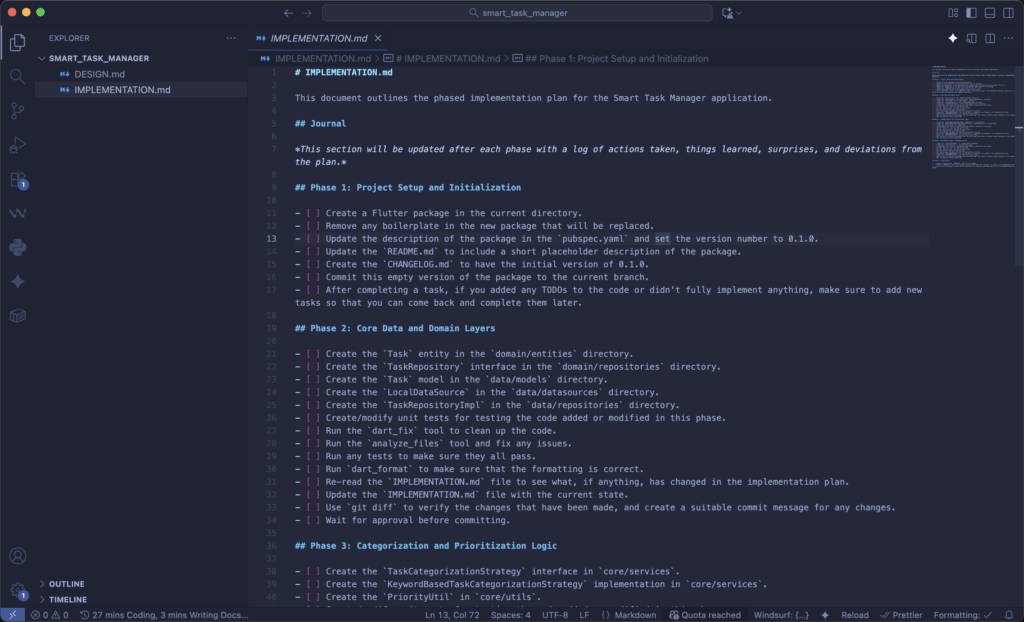
Open the IMPLEMENTATION.md file and make any changes you deem necessary.
# IMPLEMENTATION.md

This document outlines the phased implementation plan for the Smart Task Manager application.

## Journal

*This section will be updated after each phase with a log of actions taken, things learned, surprises, and deviations from the plan.*

---

## Phase 1: Project Setup and Initialization

* [ ] Create a Flutter package in the current directory.
* [ ] Remove any boilerplate in the new package that will be replaced.
* [ ] Update the description of the package in the `pubspec.yaml` and set the version number to `0.1.0`.
* [ ] Update the `README.md` to include a short placeholder description of the package.
* [ ] Create the `CHANGELOG.md` with the initial version `0.1.0`.
* [ ] Commit this empty version of the package to the current branch.
* [ ] After completing a task, if you added any TODOs to the code or didn’t fully implement anything, make sure to add new tasks to revisit later.

---

## Phase 2: Core Data and Domain Layers

* [ ] Create the `Task` entity in the `domain/entities` directory.
* [ ] Create the `TaskRepository` interface in the `domain/repositories` directory.
* [ ] Create the `Task` model in the `data/models` directory.
* [ ] Create the `LocalDataSource` in the `data/datasources` directory.
* [ ] Create the `TaskRepositoryImpl` in the `data/repositories` directory.
* [ ] Implement CRUD operations (`addTask`, `editTask`, `deleteTask`, `getTasks`) in the repository implementation.
* [ ] Create/modify unit tests for testing the code added or modified in this phase.
* [ ] Run the `dart_fix` tool to clean up the code.
* [ ] Run the `analyze_files` tool and fix any issues.
* [ ] Run any tests to make sure they all pass.
* [ ] Run `dart_format` to make sure that the formatting is correct.
* [ ] Re-read this file and update it with the current state.
* [ ] Use `git diff` to verify changes, and create a suitable commit message for any modifications.
* [ ] Wait for approval before committing.

---

## Phase 3: Categorization and Prioritization Logic

* [ ] Create the `TaskCategorizationStrategy` interface in `core/services`.
* [ ] Create the `KeywordBasedTaskCategorizationStrategy` implementation in `core/services`.
* [ ] Create the `PriorityUtil` in `core/utils`.
* [ ] Integrate the categorization and priority logic into the `TaskRepositoryImpl` so that every added or edited task is automatically categorized and prioritized.
* [ ] Create/modify unit tests to validate categorization and priority behavior.
* [ ] Run the `dart_fix` tool to clean up the code.
* [ ] Run the `analyze_files` tool and fix any issues.
* [ ] Run any tests to make sure they all pass.
* [ ] Run `dart_format` to ensure consistent formatting.
* [ ] Update this file and commit once approved.

---

## Phase 4: Presentation Layer (ViewModel and UI)

* [ ] Create the `TaskListViewModel` in `presentation/viewmodels`.
* [ ] Create the `AddEditTaskViewModel` to handle adding and editing task logic.
* [ ] Create the `TaskListScreen` in `presentation/views`.
* [ ] Create the `AddEditTaskScreen` in `presentation/views` for creating and editing tasks.
* [ ] Connect the `TaskListViewModel` and `AddEditTaskViewModel` with the repository layer.
* [ ] Add form validation and real-time categorization feedback when users type task descriptions.
* [ ] Create/modify unit and widget tests for the new views and viewmodels.
* [ ] Run all cleanup, analysis, and formatting tools.
* [ ] Verify and document changes, then commit once approved.

---

## Phase 5: Finalization

* [ ] Create a comprehensive `README.md` file for the package.
* [ ] Create a `GEMINI.md` file in the project directory that describes the app, its purpose, and implementation details.
* [ ] Conduct a final user review to verify that adding, editing, categorizing, and prioritizing tasks work as expected.
* [ ] Ask the user to inspect the app and the code and say if they are satisfied with it, or if any modifications are needed.
Then, in the terminal, tell it that you approve the implementation file and that it can begin.
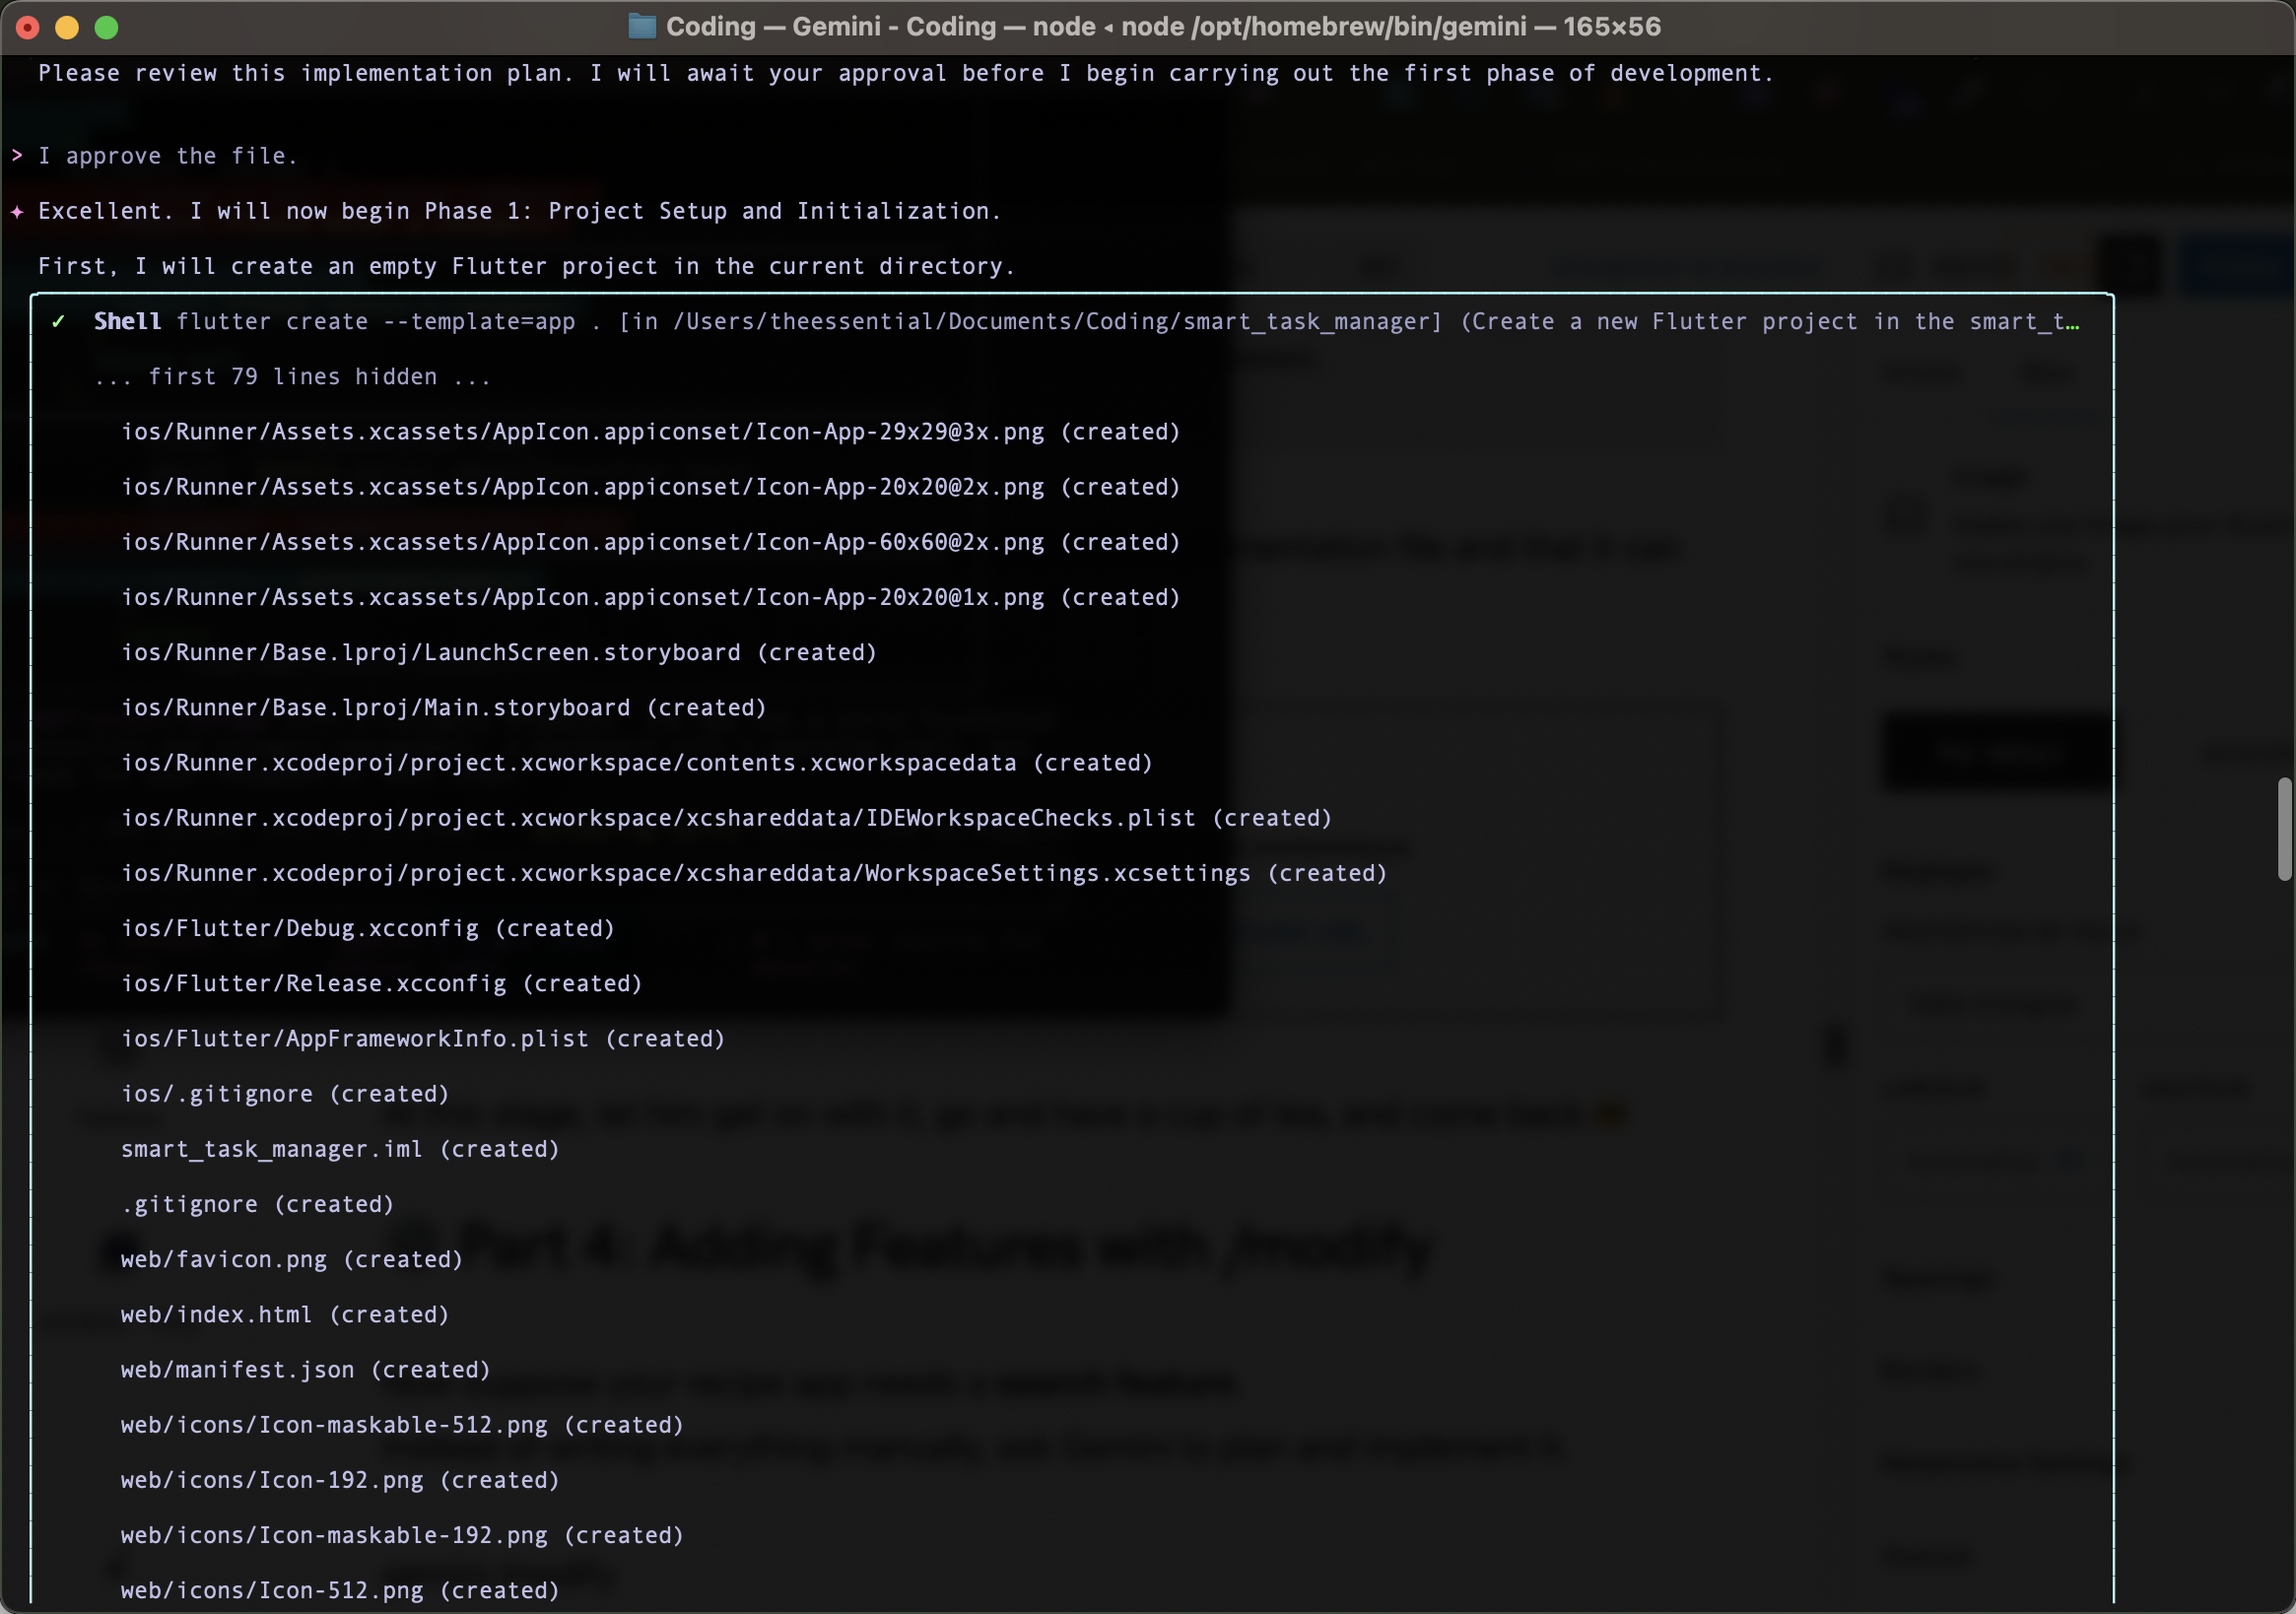
At this stage, let it work by giving it full permissions, go and have a cup of tea, and come back.😎

He will implement the features in phases, and you can follow everything he does. You will also see that each time the IMPLEMENTATION.md file is updated to check off the tasks it has completed.
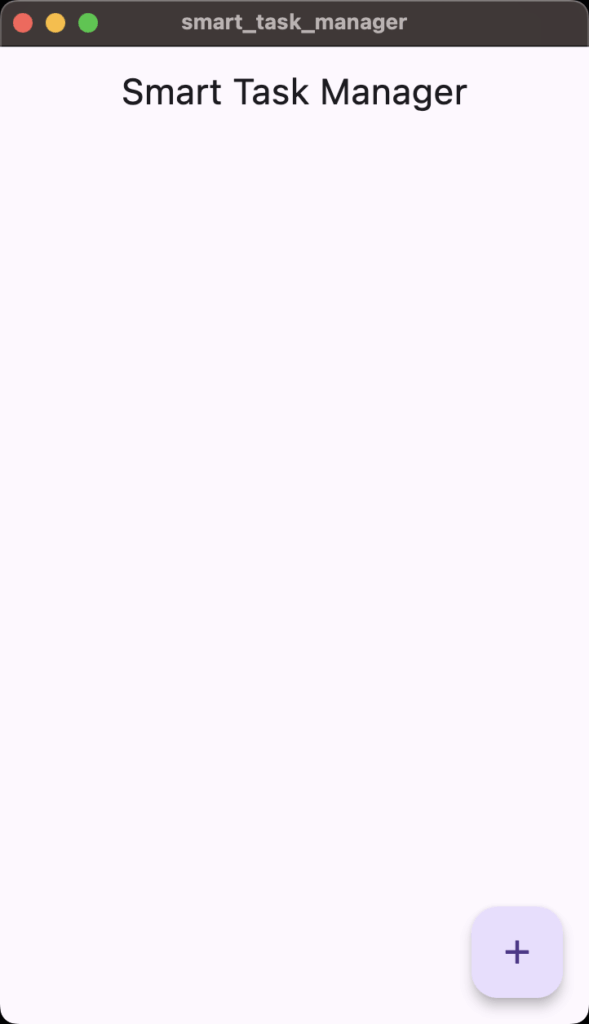
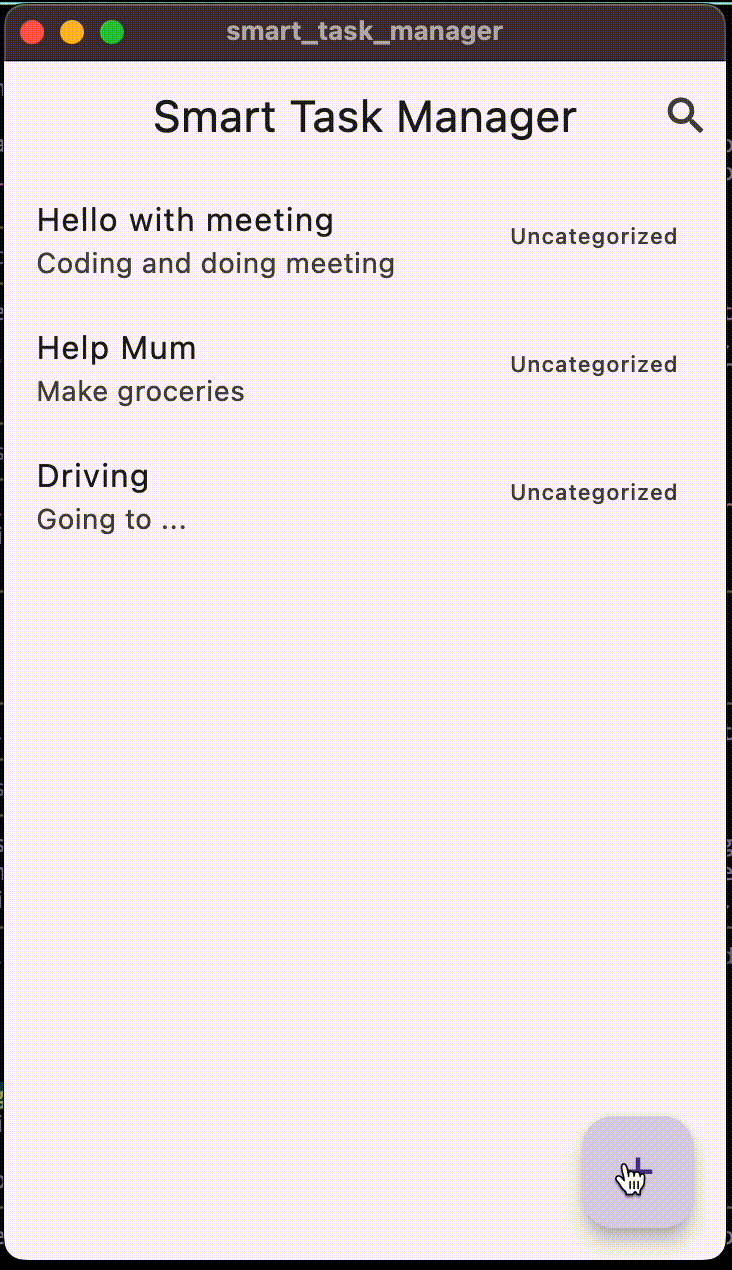
Here is the application he developed for us.
⚙️ Part 4: Adding Features with /modify
Now let’s assume we want to keep our data persistent in the application and we want a search feature by title/category.
Instead of writing everything manually, ask Gemini to plan and implement it.
/modifyThen type the prompt:
Implement a local storage system to keep the data persistent and Add a search feature that filters task by title and category.He will ask you questions to refine the new integrations.
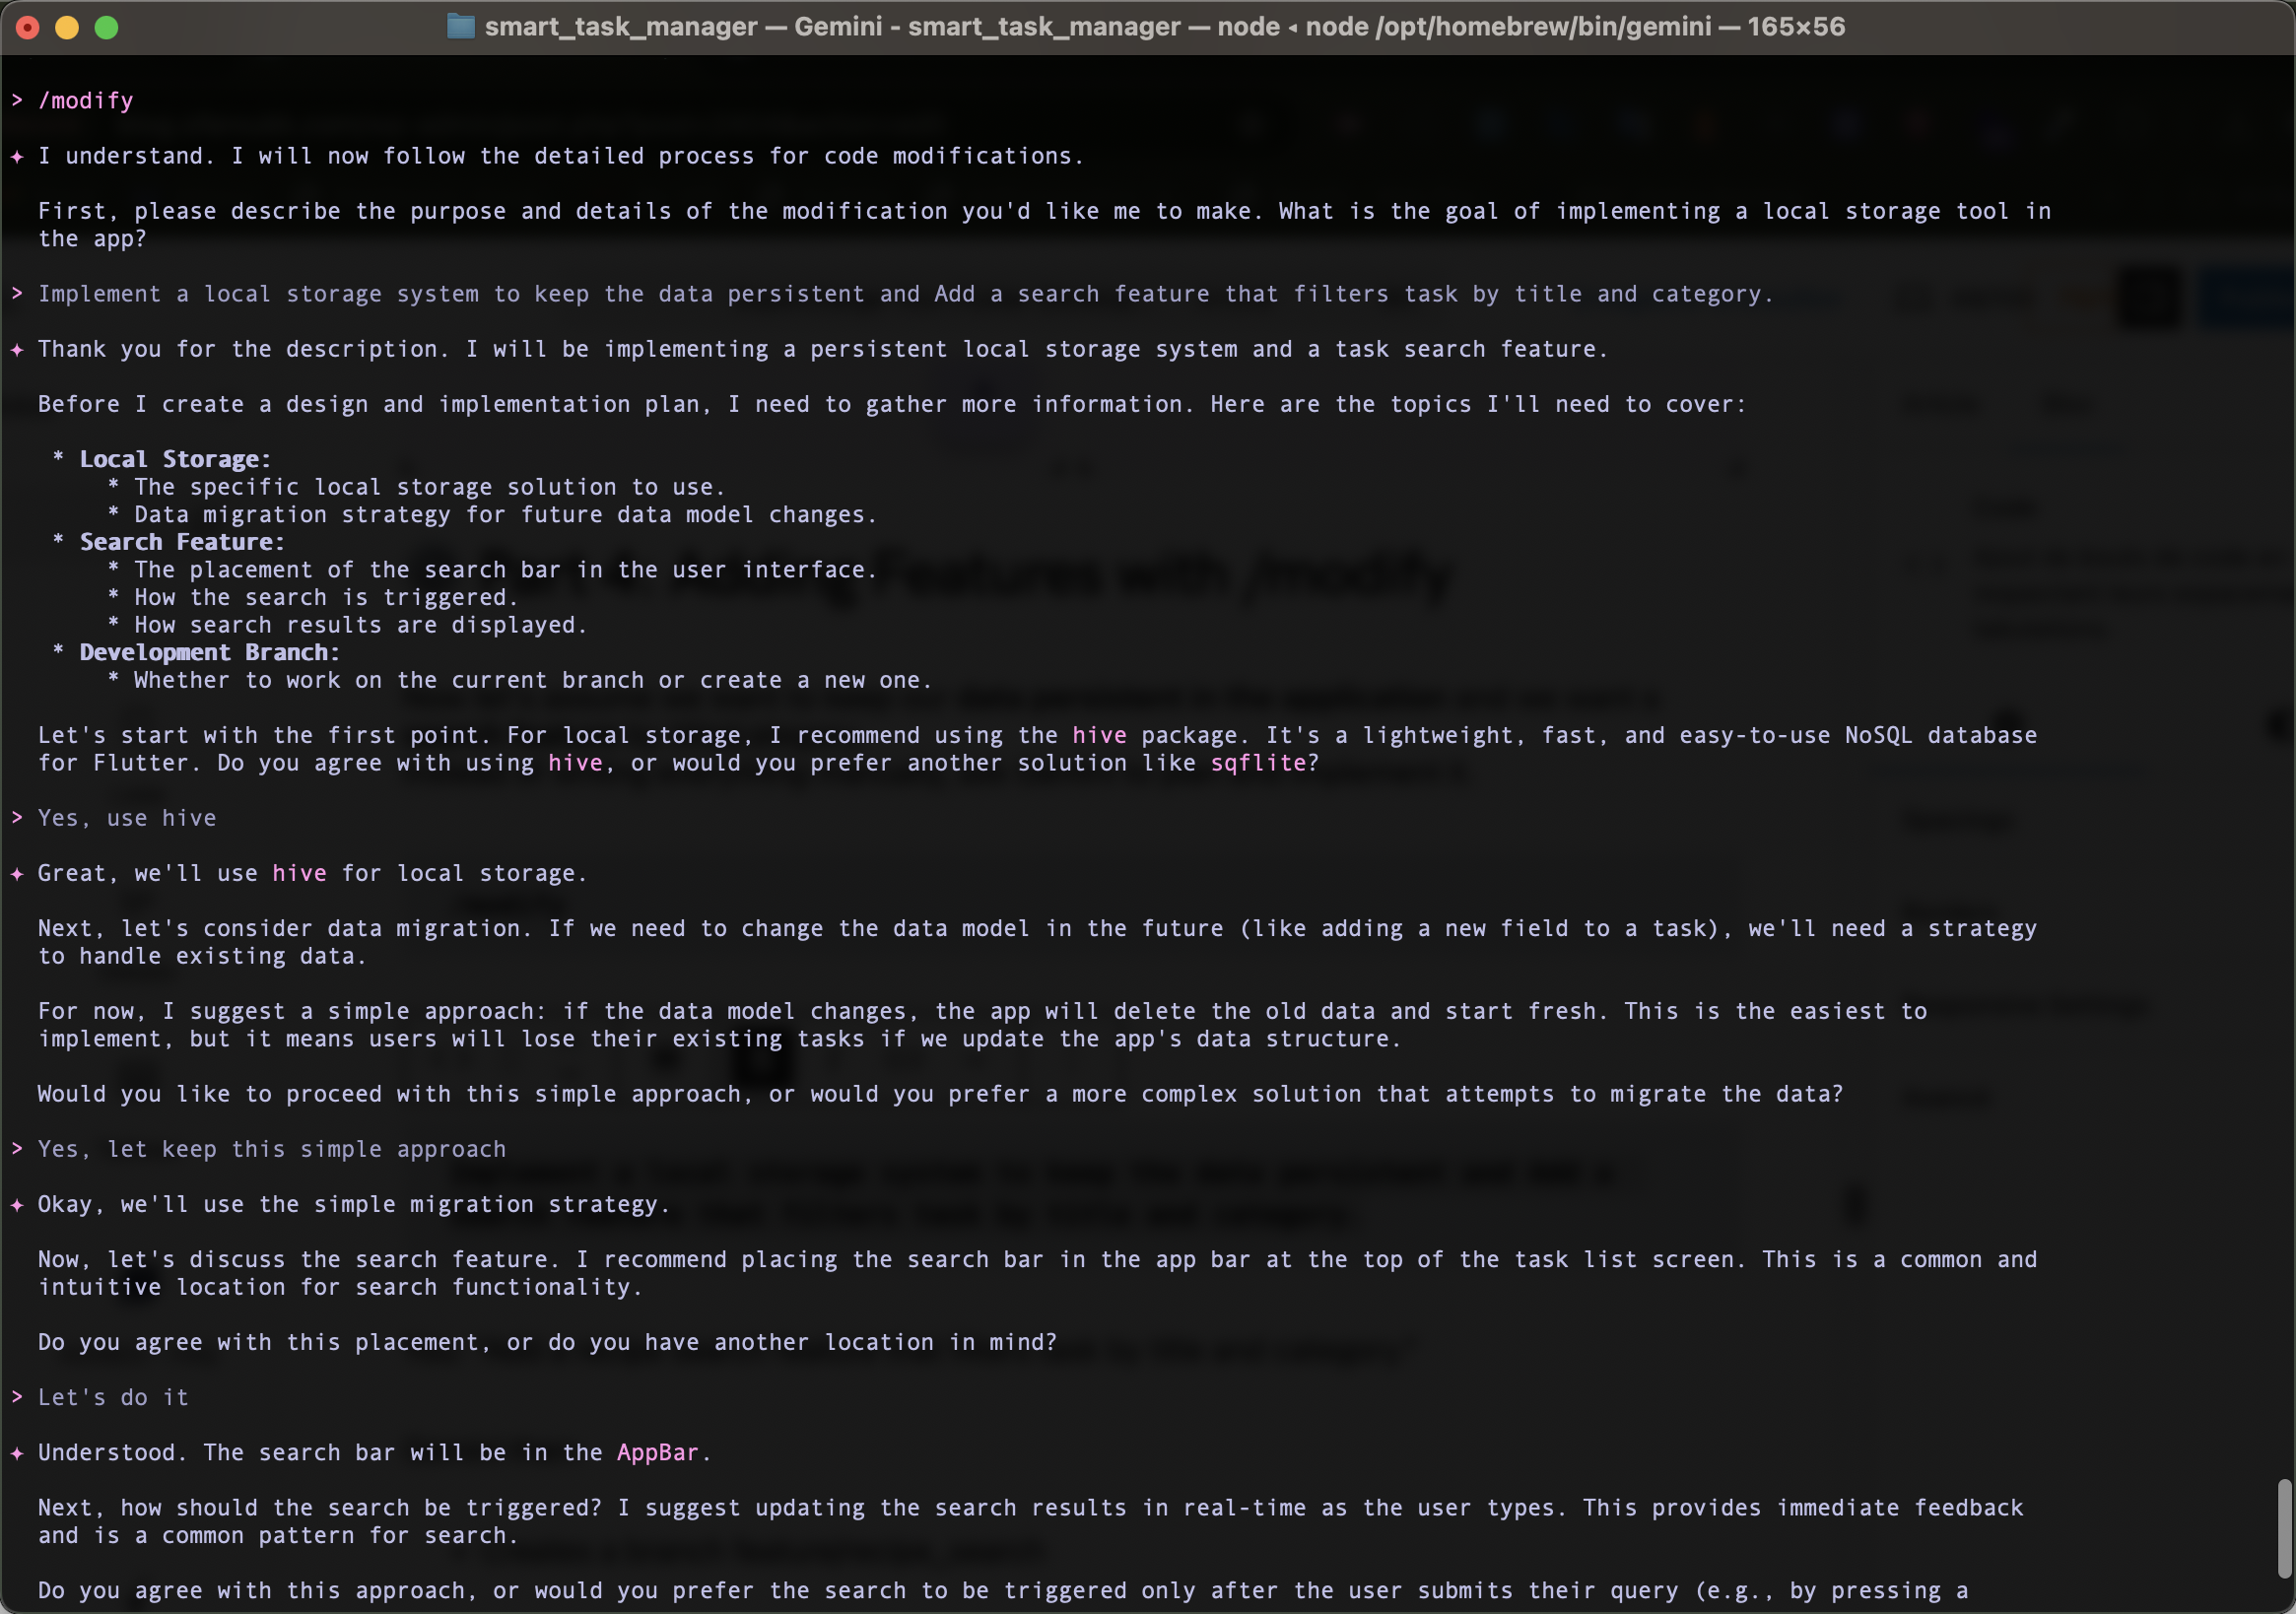
Gemini then:
- Creates a branch feature/local-storage-and-search
- Generates MODIFICATION_DESIGN.md (including architecture diagram)
- Once you approved, it will generate MODIFICATION_IMPLEMENTATION.md
- It will begin integration
✅ Result: You get a new feature with automated testing and consistent structure — no manual setup.

🔍 Part 5: Debugging with Gemini Connected to Your Running App
Now imagine your app throws this error:
A RenderFlex overflowed by 120 pixels on the bottom.Instead of switching to Google, connect Gemini to your live Flutter app through the Dart Tooling Daemon (DTD).
Run your app:
flutter run --print-dtdCopy the printed DTD URL.
In another terminal using gemini cli, Enter this prompt:
Connect to the Flutter app with this DTD URL: <DTD_URL>Then ask:
Explain the RenderFlex overflow in my current widget tree.Gemini will inspect the widget hierarchy and respond:
“The overflow likely comes from your TaskListScreen where a Column contains a ListView. Wrap the ListView in an Expanded or Flexible widget.”You can even ask:
Suggest a refactor for my TaskEditScreen widget to improve readability.🧪 Part 6: Testing and Smart Commits with /commit
After implementing new features, finalize everything cleanly:
/commit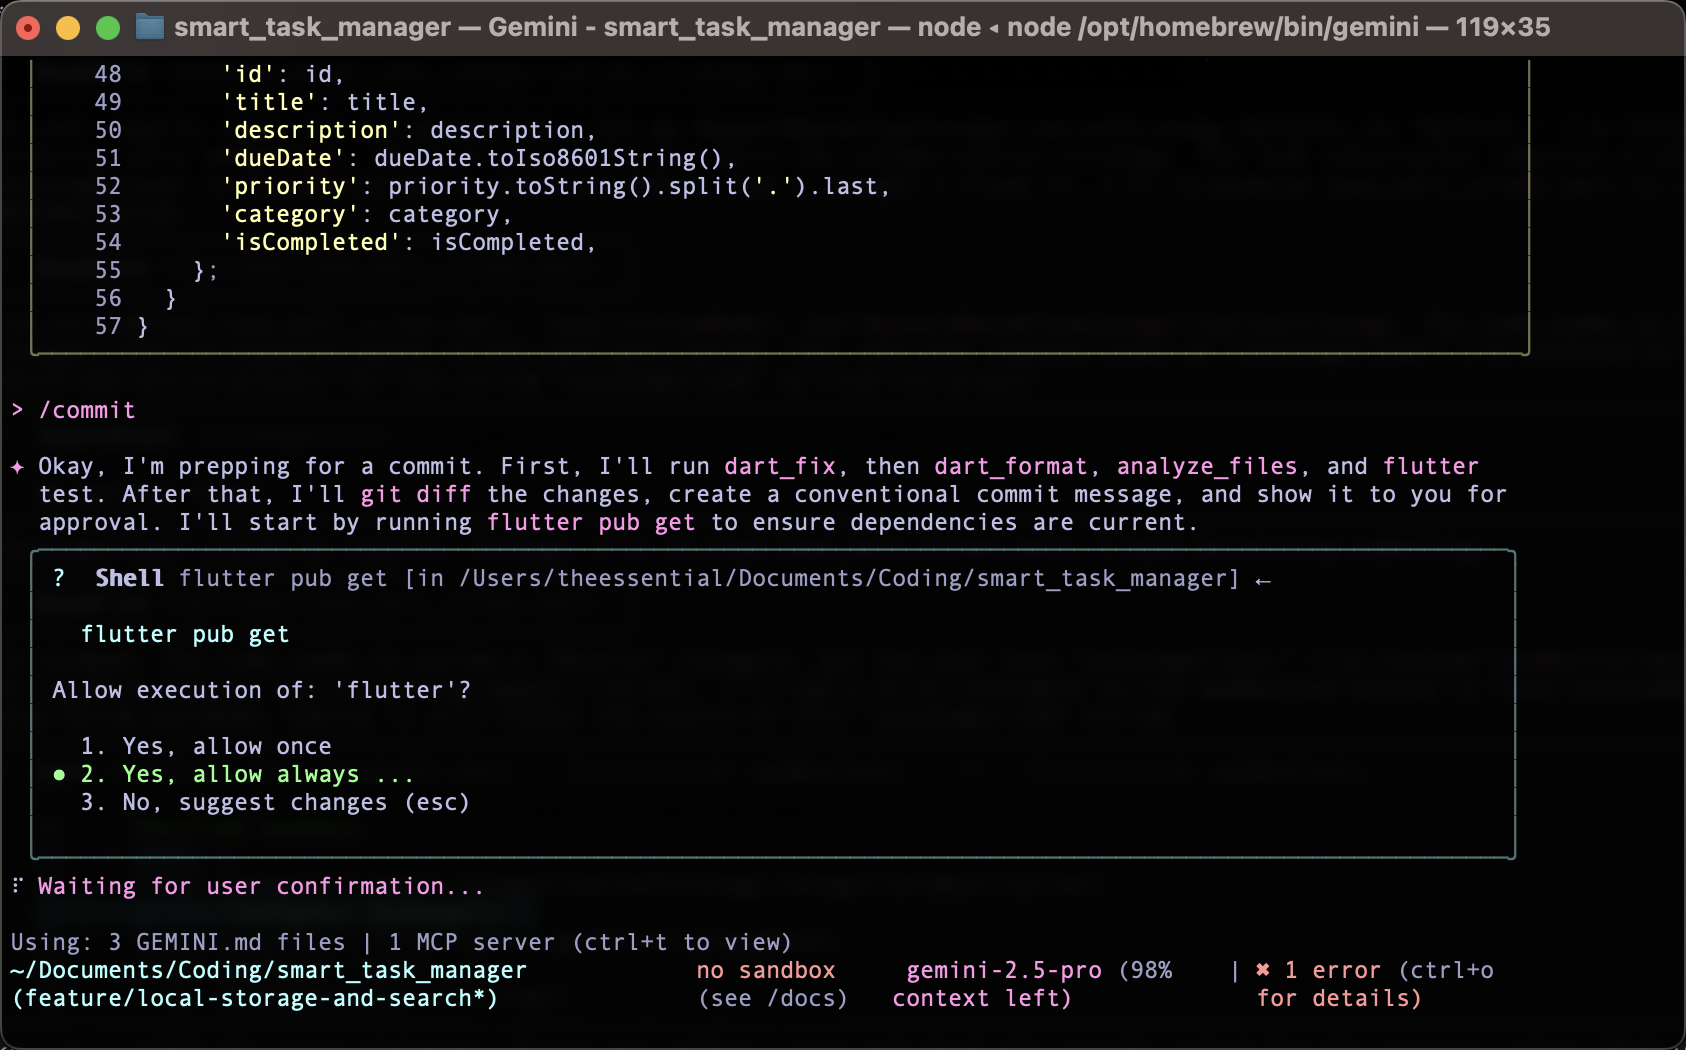
Gemini:
- Runs code formatting (dart format .)
- Fixes minor issues (dart fix)
- Analyzes code (dart analyze)
- Executes tests (flutter test)
- Generates a semantic commit message, e.g. feat(search): add recipe filtering by title and ingredient
You can review and confirm before commit. No need to memorize conventional commit syntax ever again.
🧰 Bonus: Automate Routine Tasks
Want Gemini to create a release script for you?
Write a bash script named build_release.sh that runs:
Write a bash script named build_release.sh that runs:
- flutter clean
- flutter pub get
- flutter build apk --release
Each step should echo progress and exit on failure.
Gemini instantly writes:
#!/bin/bash
set -e

echo "🧹 Cleaning project..."
flutter clean

echo "📦 Getting dependencies..."
flutter pub get

echo "🚀 Building release APK..."
flutter build apk --release

echo "✅ Build complete!"
Save it, commit, done.
🏁 Conclusion: Gemini as Your Flutter Development Partner
Throughout this guide, we saw Gemini evolve from a simple terminal prompt into a true AI teammate — one that plans, writes, tests, debugs, and commits alongside you.
Adding a GEMINI.md file turns it into your assistant — following your architecture, your conventions, and your rules.
Gemini CLI doesn’t replace your expertise — it amplifies it. It handles the boilerplate, so you can focus on design, performance, and user experience.
The future of Flutter development is conversational.
Your terminal is no longer just a command line — it’s your new pair programmer.
So, open your terminal, run gemini -> /create-app, and start building smarter today.
🧑💻 GitHub example: smart-task-manager